

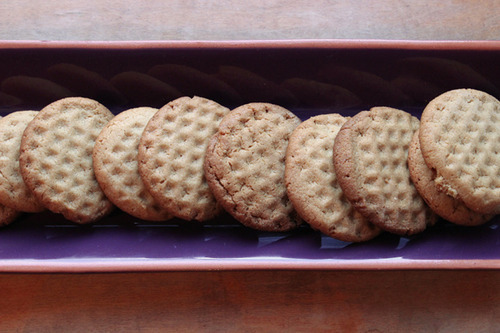
Sometimes, in the middle of all the healthy baking, it’s time to make something for the kids. They put up with the bran stuff and the pumpkin whatnot for a while, but they’ve become pretty blasé about all the (what I think are) goodies coming out of the kitchen. So this past weekend, I asked them what they wanted, and they wanted peanut butter cookies, and more specifically, they wanted to use the meat tenderizer to make the imprint on the top. What could I say? I said yes.
Unlike most of my recipes, this one started with a big old stick of butter. And since this week’s photography class was all about motion and movement, and determining what settings you need to shoot the motion blurry or capture it still, I thought I’d play with that too, once I had the stand mixer fired up.
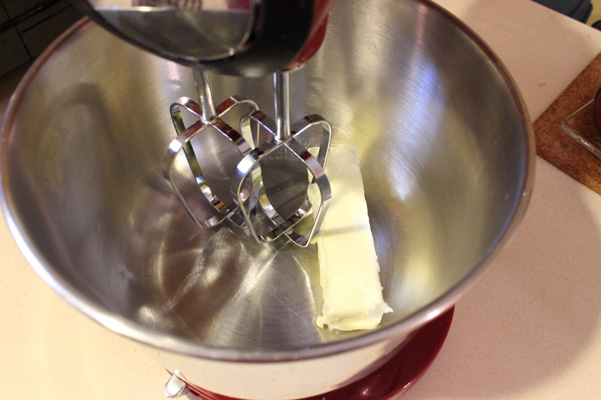
Yes. Butter.
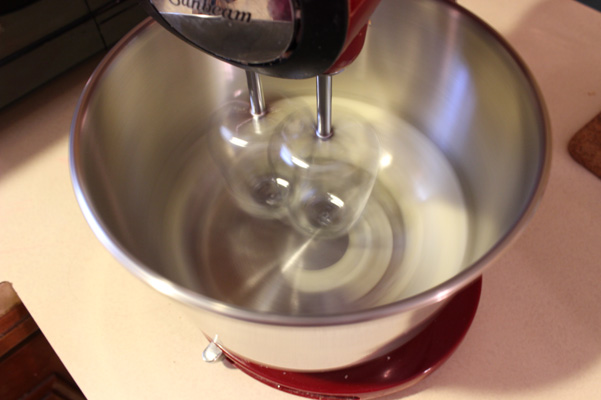
Next to go into the bowl, brown sugar and and cane sugar, half a cup of each. And again, I had some fun with the camera.

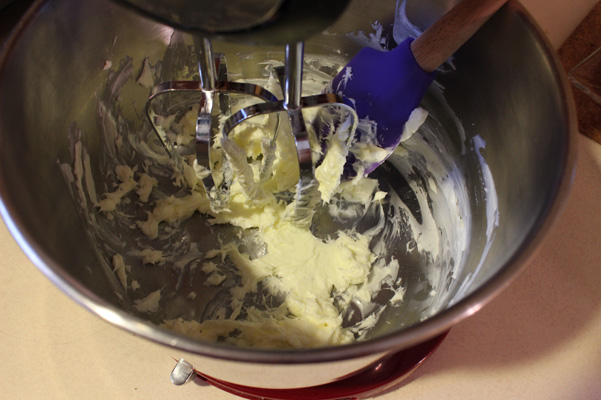
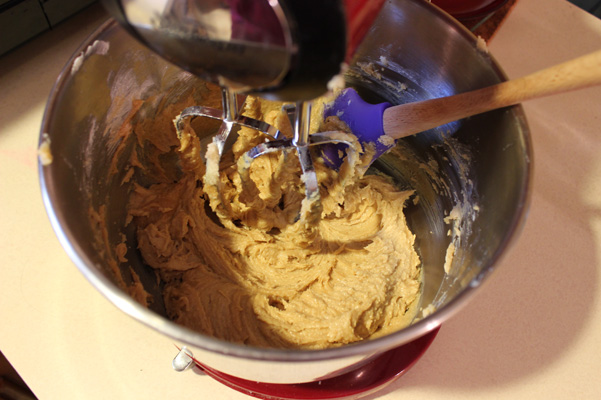
In went the peanut butter and the egg.
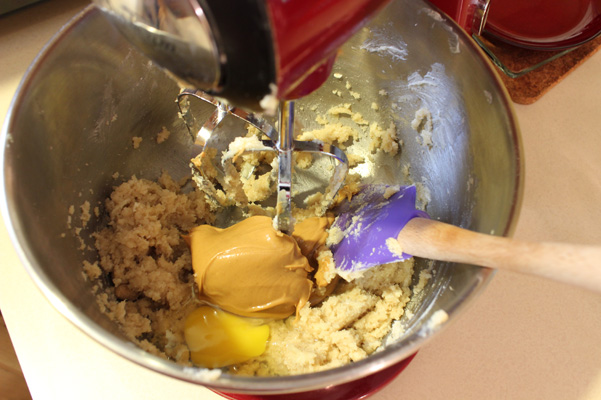
Everything got nice and gooey.
Separately, I combined the dry ingredients: whole wheat white flour (I had to make at least ONE change), baking soda, baking powder, and salt. I whisked.

I’m working with indoor lighting, it’s a challenge. When I was shooting everything on automatic, I used the flash and didn’t have shadows to deal with, but I’m learning to embrace the shadows. I sort of like this picture, inasmuch as you can like a picture of dry ingredients in a bowl.
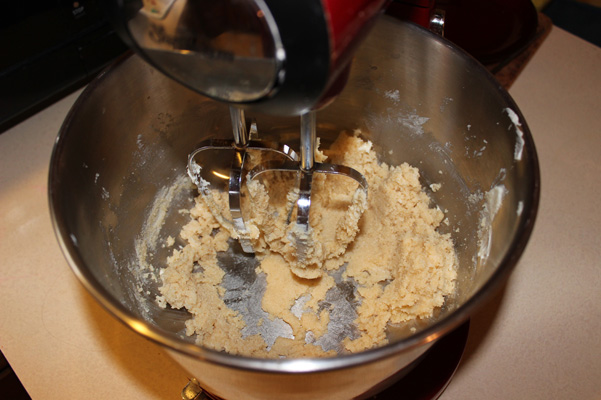
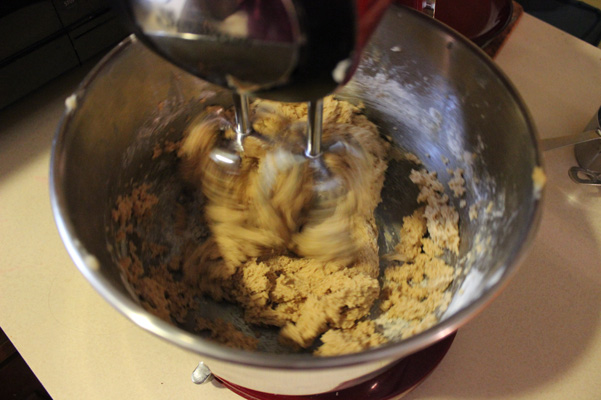
I poured all of that into the stand mixer, and beat until well incorporated. And played with the camera some more.
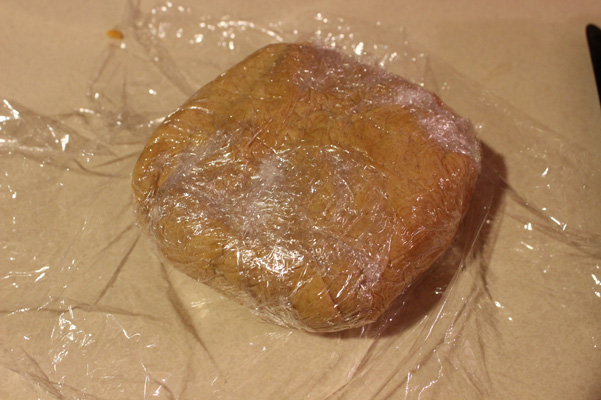
And then, just as I was about to heat up the oven, I did what I should have done before starting, and read the rest of the recipe. The next step, unfortunately, was this:
Wrap dough in plastic and refrigerate at least 3 hours.
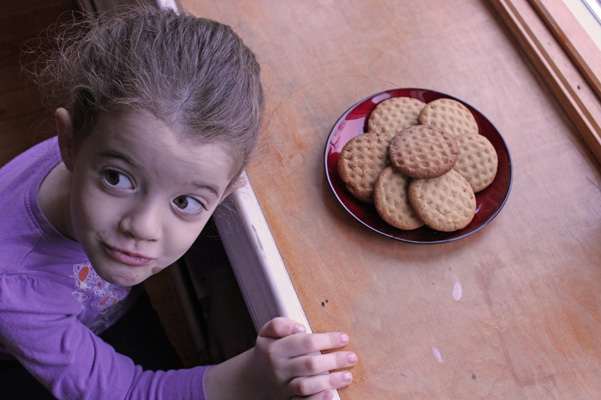
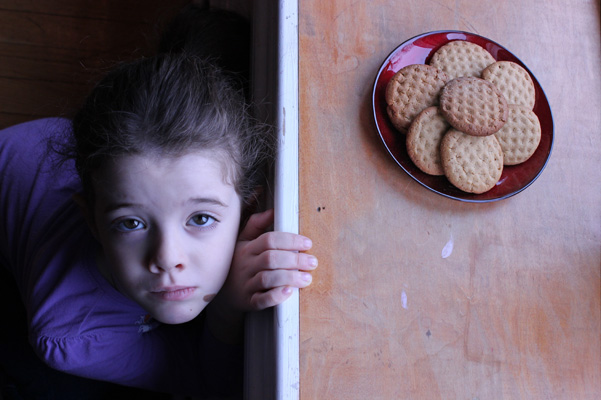
It wasn’t even hidden. It was prominently placed above a nice photo of cookies on a tray, as its very own step. But I missed it. So I had to explain to the kids that we wouldn’t have cookies until much later, since we had plans to go out in less than TWO hours. They took it well, but they were not thrilled. And thus, we had to temporarily end things right here.
We went off to family yoga, I stayed for meditation, we had dinner, and then, once things were quiet again, I took out the dough.
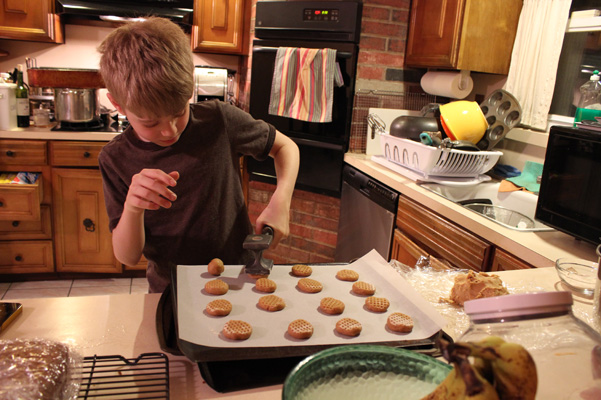
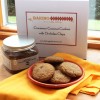
There’s something sort of nice about having to chill the dough; it means that when it’s time to work with the dough again, you’ve already done all the clean-up and put the ingredients away. All I needed now were baking sheets, parchment paper (newly arrived from the King Arthur Flour Company in handy pre-cut sheets), and the requested meat tenderizer. (Don’t worry, it was very clean, and it’s never used directly on the meat anyway without a layer of plastic as a buffer.)
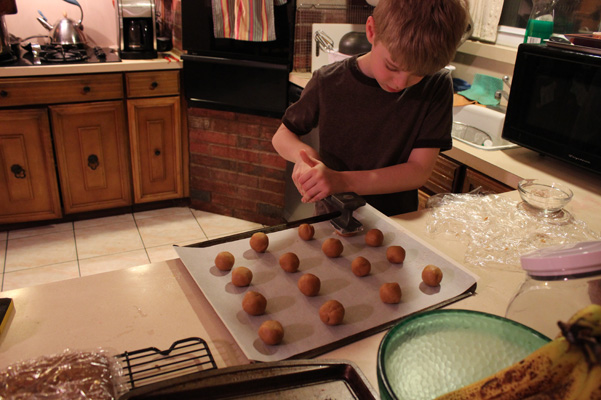
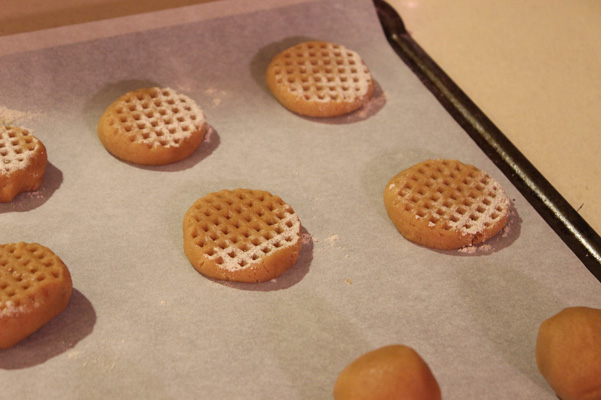
Juliet had already gone to bed at that point, so it was up to Nathaniel and me to roll the cookies into nice round balls, and then have fun making the imprints.
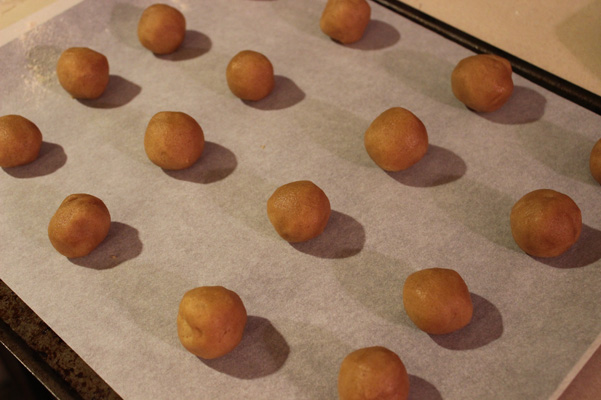
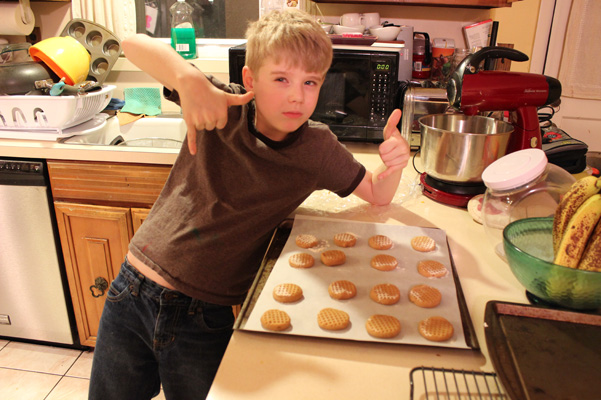
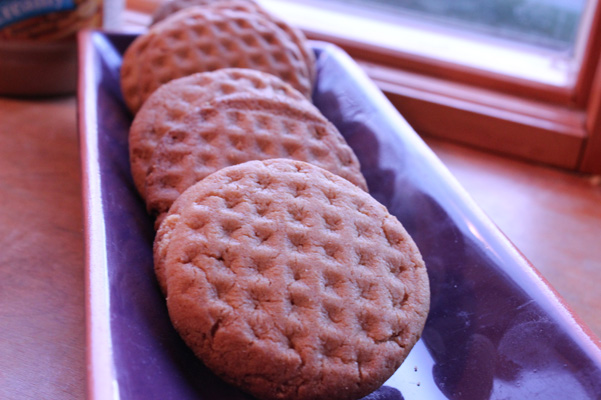
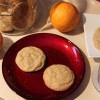
His job done, he wandered off to play a Star Wars video game, and I attended to the baking itself. 10 minutes was about right for each tray except for the last one, we decided to make bigger cookies at the end, so those took about 12 or 13 minutes to get fully cooked.
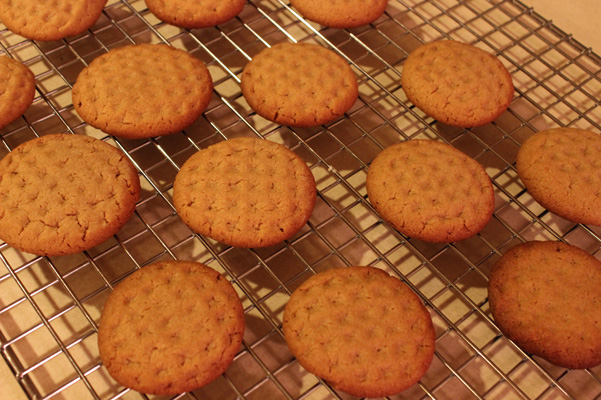
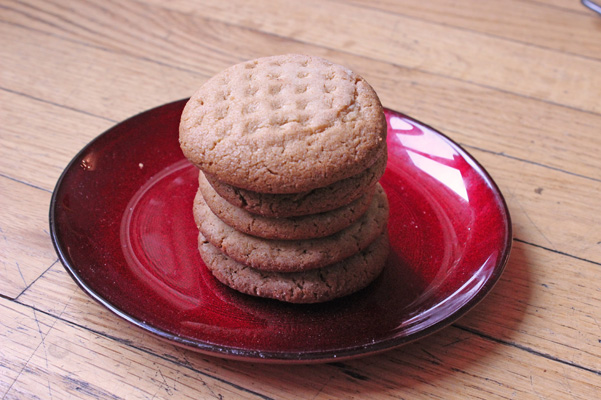
These are great. Crispy on the outside, crumbly on the inside, full of peanut butter flavor. An easy and delicious recipe.
PEANUT BUTTER COOKIES RECIPE (from Simply Recipes)

Speak Your Mind